
Motocross The Game Tyre Pressure: Find Real Grip
How to set tyre pressure in Motocross The Game: real-world baselines, hard-pack versus sand, warning signs and a simple one-step test method.
Start near the middle of the workshop's tyre pressure range. A real-world motocross baseline is roughly 12 to 15 psi cold, with slightly higher pressure on hard-pack and slightly lower pressure in sand. Change one step at a time, ride three laps, and keep the pressure that lets you hold your line rather than the one that feels softest.
Tyre pressure is the simplest setup change in Motocross The Game and the one most riders skip. That is a mistake. The contact patch is the only thing connecting the bike to the track, and pressure changes the size and shape of that patch immediately.
It is also the safest place to start tuning because the effect is easy to feel and easy to reverse. If a pressure change makes the bike worse, you can go back to the previous value in seconds.
What tyre pressure changes
Lower pressure lets the tyre deform more. The contact patch grows, the tyre conforms to small bumps and the bike feels more planted. On hard-pack, that can mean more front-end confidence in a rut. In sand, it can mean the tyre floats instead of digging.
Higher pressure makes the tyre firmer. The contact patch is smaller, the bike feels more precise and the tyre is less likely to roll or pinch. On hard-pack, that can make the front feel sharper. In sand, too much pressure makes the bike skip and lose drive.
There is a limit in both directions. Too low and the tyre rolls, the bike feels vague and the rim is at risk. Too high and the tyre loses traction, especially under braking and on corner exit.
The real-world baseline
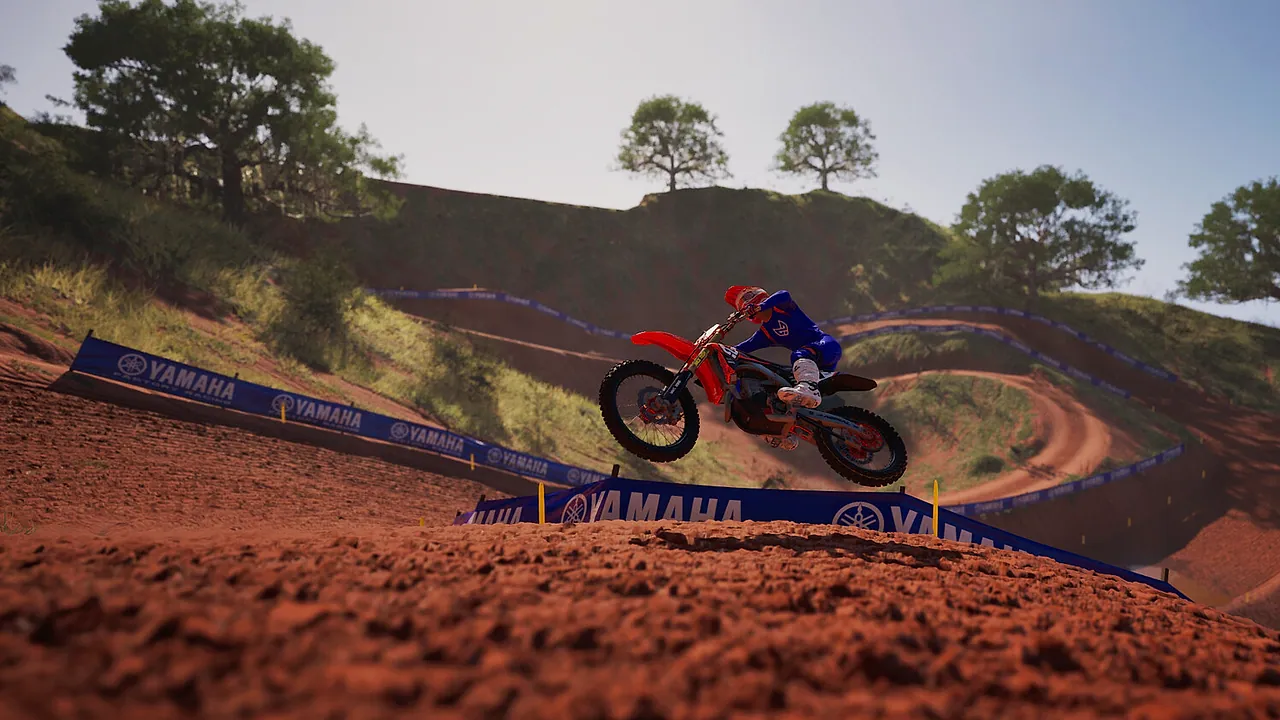
If the workshop uses psi, a typical motocross starting point is around 12 to 15 psi cold. Many riders run 13 to 14 psi on hard-pack and slightly lower in sand. If the workshop uses bar, the equivalent is roughly 0.8 to 1.0 bar. If it uses an abstract scale, start at the middle and treat the steps as relative.
These are real-world reference points, not published game values. The game may use a simplified model, and Early Access patches can change it. The important thing is to test the range rather than assume a number.
Check pressure before you ride, not after. Heat changes pressure, and a hot reading will send you chasing a number you cannot reproduce.
Hard-pack: precision versus grip
Hard-pack tracks such as Rödeby CK reward a front tyre that bites when you turn in. Start slightly above the middle of the range, then test one step lower. If the front feels vague or the bike wants to push, add a step. If it deflects off small bumps, take a step out.
The rear is a balance between drive and stability. Too low and the rear rolls on corner exit; too high and it spins. On a 450F, the extra torque makes the rear pressure more sensitive, so test it separately from the 250F.
Deep ruts: compliance matters
In deep ruts, the tyre needs to conform to the rut and keep the front wheel tracking. A slightly lower pressure can help, but not so low that the tyre rolls and climbs out. If the front keeps climbing the rut, check your body position and suspension before you drop the pressure further.
Midsummer Carnage is the obvious test track for this. Ride the same rut ten times at the same speed and count how often the front stays in. Change pressure one step and repeat. That is a more reliable test than a single lap.
Sand: float, don't dig
Sand is a different problem. The surface moves, so the tyre needs to float and the bike needs to carry momentum. A slightly lower pressure can help the tyre spread its load and find drive, but too low a pressure can make the bike feel like it is dragging.
Pacific Crown is the sand track in the launch lineup. Start one step below your hard-pack setting, then test. If the bike is digging in and losing drive, try a little more pressure rather than less; a firmer tyre can skip across the surface instead of ploughing.
How to test pressure
- Set a known baseline and record it.
- Ride five laps at a consistent pace.
- Note where the bike loses grip or feels vague.
- Change pressure by one step.
- Ride five more laps.
- Compare the same corner or section.
- Keep, adjust or revert.
Do not change pressure and gearing in the same session. If the bike improves, you will not know which change did it.
Warning signs
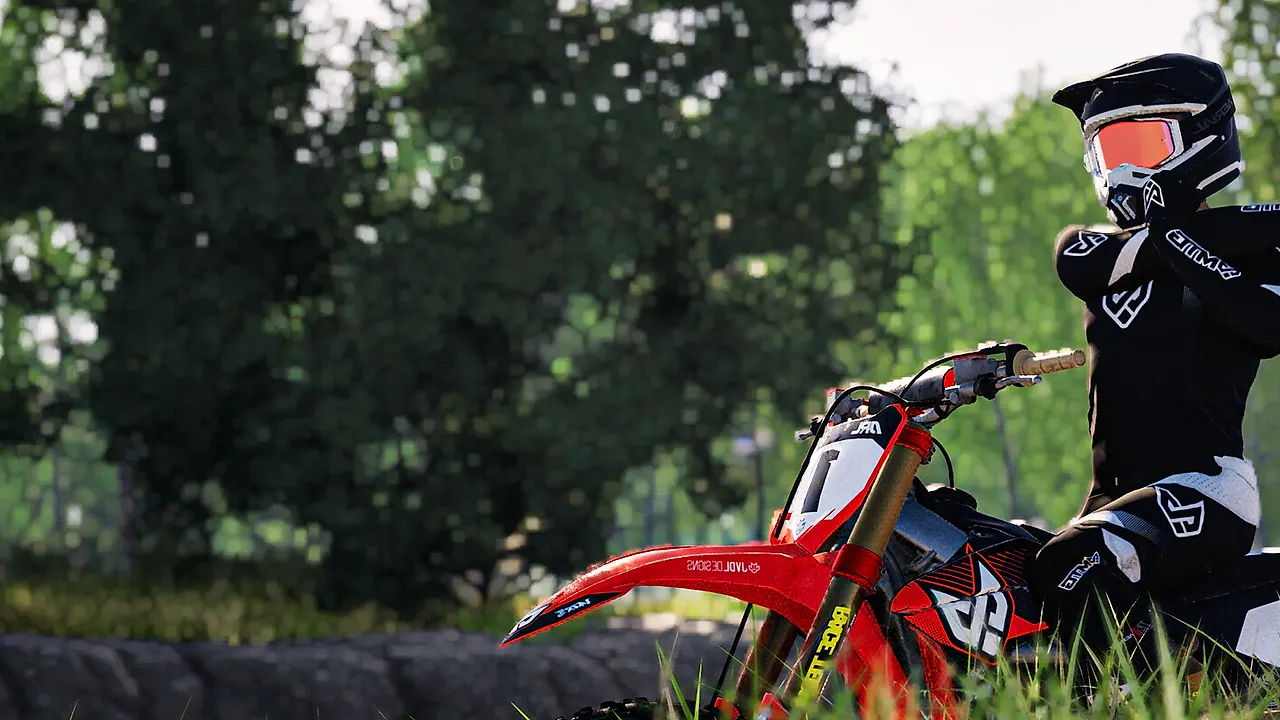
The front feels vague and wants to push. Pressure may be too low, or the front suspension is too soft. Check both.
The bike deflects off small bumps. Pressure may be too high, or compression damping is too stiff.
The rear spins on corner exit. Pressure may be too high, or you are asking for too much throttle too early.
The tyre looks like it is rolling onto its sidewall. Pressure is too low. Add a step.
The bike skips across sand instead of driving. Pressure may be too high; try a step lower, then re-test.
Pressure and temperature
If the game simulates tyre temperature, pressure will change during a session. A tyre that feels perfect on lap one may feel different on lap ten. Use the first three laps to warm up, then judge the setup. Do not chase a pressure that only works cold.
If the game does not simulate temperature, the pressure you set is the pressure you get. That makes testing simpler, but it also means you should not expect a real-world heat build-up effect.
Pressure and the 250F versus the 450F
The 450F puts more torque through the rear tyre, so it is more sensitive to pressure on corner exit. A pressure that works on the 250F may spin on the 450F. Test each class separately, and remember that the time attack boards are split by class.
The front tyre is less affected by engine power, but the 450F's extra weight and speed can change how the front loads under braking. If you switch classes, re-test the front as well.
Common mistakes
Copying a real-world pressure without converting units. Check whether the workshop uses psi, bar or an abstract scale before you type a number.
Running the lowest pressure because "more grip is better". Too low a pressure makes the tyre roll and the bike vague.
Changing pressure to fix a braking problem. If you are braking too late, pressure will not save you.
Testing on a different track. Pressure is surface-specific. Test where you race.
Never checking the rear. Most riders focus on the front and ignore the rear, which is where drive and stability come from.
A simple pressure log
Keep a note for each track and class:
| Track | Class | Pressure | Best lap | Notes |
|---|---|---|---|---|
| Rödeby CK | 250F | Middle | 1:10.4 | Stable, front good |
| Pacific Crown | 250F | One step lower | 1:14.8 | Better drive, still skips |
The log turns a feeling into a reference. After a few sessions, you will know which direction to go on a new track before you ride a lap.
For the next step, the suspension setup guide→ covers the related inputs in more detail.
FAQ
What is the best tyre pressure in Motocross The Game? There is no single best value. Start near the middle of the range, then test one step higher and one step lower on the track you are riding. The best pressure is the one that lets you hold your line consistently.
Does tyre pressure affect the online leaderboard? Yes, it is part of your setup and therefore part of your lap time. The leaderboard does not restrict setup changes.
Should I run lower pressure in sand? Often yes, but not always. Test both directions. A tyre that is too low can dig in; a tyre that is too high can skip.
Can tyre pressure cause a crash? Indirectly. A vague front or a spinning rear can lead to a crash, but the crash is usually the result of the bike not doing what you asked. Change one thing at a time and re-test.
Sources
- Motocross The Game on Steam ↗
- Official Motocross The Game site ↗
- Official time attack leaderboards ↗
Official source: Steam store description and official about page, checked November 10, 2026. Pressure figures are real-world motocross baselines, not published game values.